
Start from your guest list
Use the names in Your People as the basis for personalized cards. Decide whether a card goes to an individual, couple or household before generating the set. Check preferred names and salutations rather than relying only on formal invitation names.
Use a shared structure, not an identical message
Begin with the person's name, thank them for their presence or gift, mention one specific detail and close warmly. A common structure makes writing manageable; the individual sentence is what makes the card feel considered.

Review every recipient's pages
Personalized card output repeats the design for the selected recipients. Check that each name matches its message and that no default sample wording remains. Review the exported page order before asking a printer to produce multiple cards.
Confirm the physical card format
A front and back design is not automatically a folded card. Check the actual PDF size and whether it represents separate sides or a flat sheet intended for folding. Order envelopes only after verifying the finished card dimensions.
ON THE PAGE
A closer look at the design.
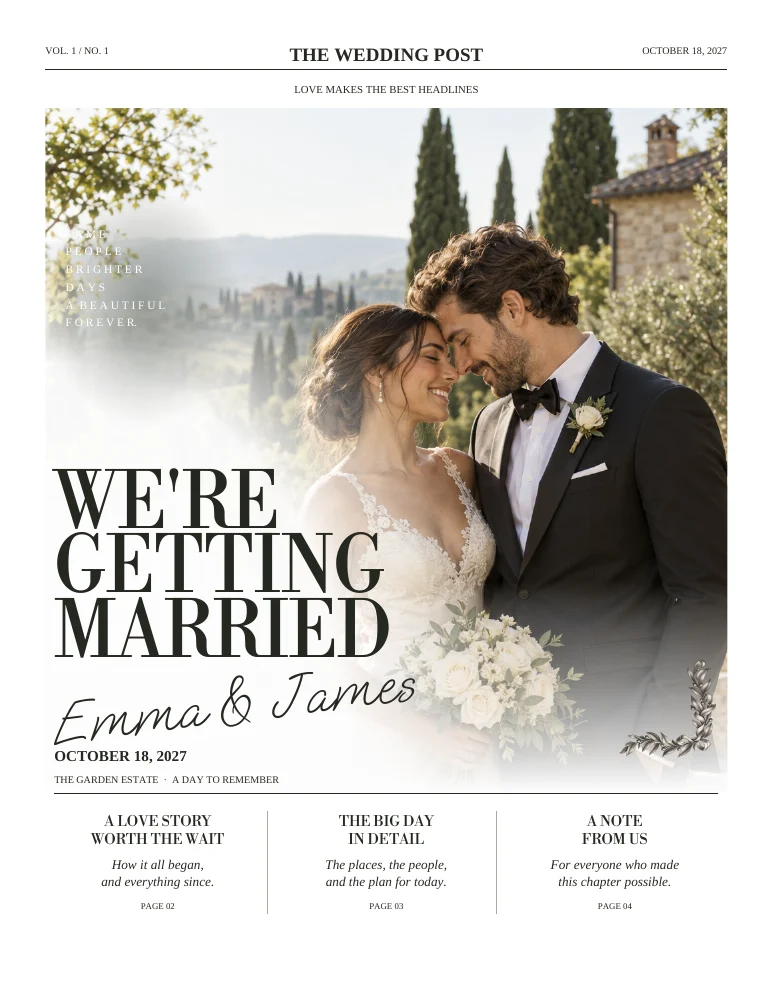
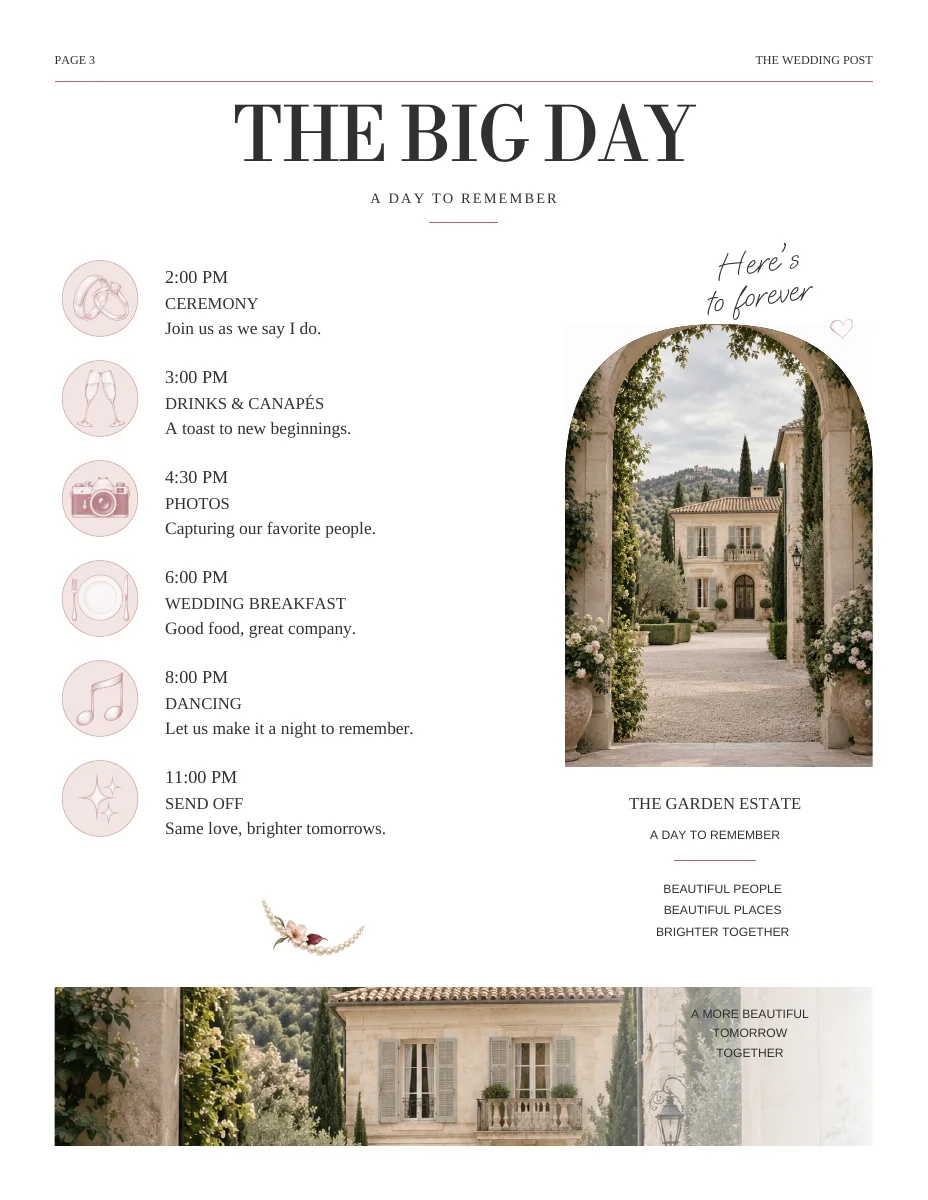
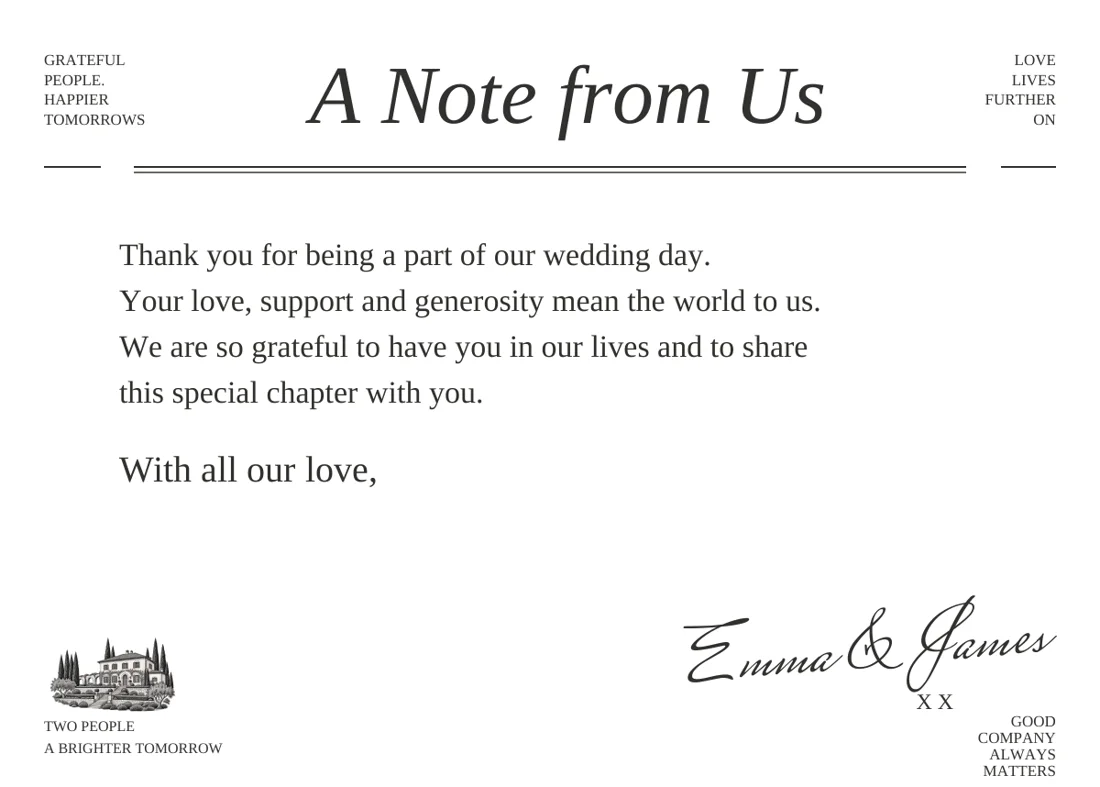
Actual sample pages from Editorial Classic. Open a page to explore the PDF. Replace the fictional details and sample photographs with your own.

KEEP IT SIMPLE
Before you make it yours
- Recipient list deduplicated
- Names matched to individual messages
- Every generated card checked
- Flat or folded printing format confirmed
GOOD TO KNOW
A few things you might be wondering.
Can every guest have different wording?
The personalized thank-you workflow is designed around guest-specific names and messages. Review each generated card before printing.
Should I wait for professional photographs?
Use a text-led card if you want to send thanks sooner. A photo-led design can be prepared once the chosen images are available.