1. Decide what the paper should do
Write one sentence describing its purpose: welcome guests to the weekend, explain the ceremony or share the story afterward. Decide when it will be handed out. That tells you which information belongs near the front.
2. Collect a small set of reliable inputs
Gather names, date, venue, addresses, confirmed timings and your website. Choose original photographs and check portrait names. Keep tentative plans marked as tentative in your working notes so they cannot slip unnoticed into the final file.
3. Choose four or eight pages
Match the edition to the amount of useful content you have. Begin with the cover, story, schedule and thank-you. Add people, food and photo features when they need their own room. Do not solve overflow by making every line smaller.
4. Write in short, specific passages
Draft each page separately. Use a short title, a direct introduction and paragraphs with one idea each. Read your story aloud: if a sentence sounds unlike you, simplify it. Ask someone who does not know every anecdote whether the meaning is clear.
A simple production plan
| Step | You need | Done when |
|---|---|---|
| Gather | Names, date, venue, original photos | One checked source of details exists |
| Choose | A style and a base edition | Every page has a purpose |
| Personalize | Shared details, stories, people | Sample wording has been replaced |
| Review | The actual generated preview | Text and photos fit comfortably |
| Purchased PDF and printer requirements | A physical proof is approved |
5. Personalize and review the actual layout
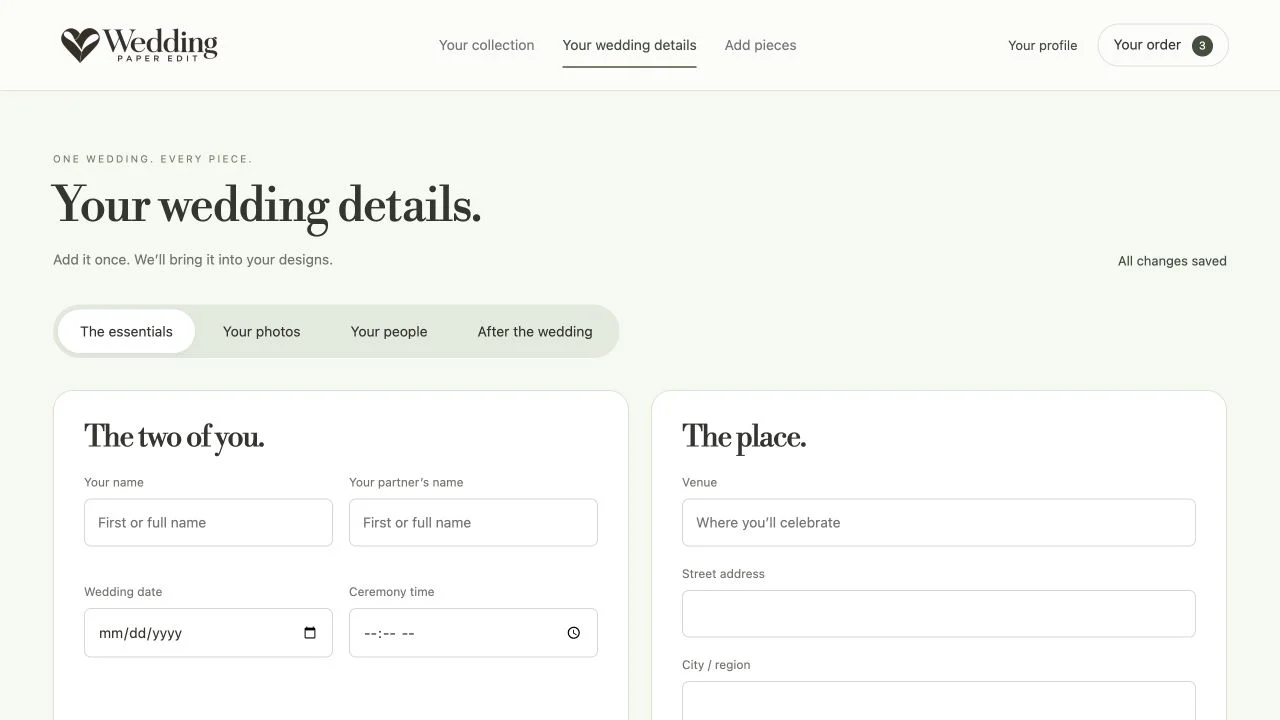
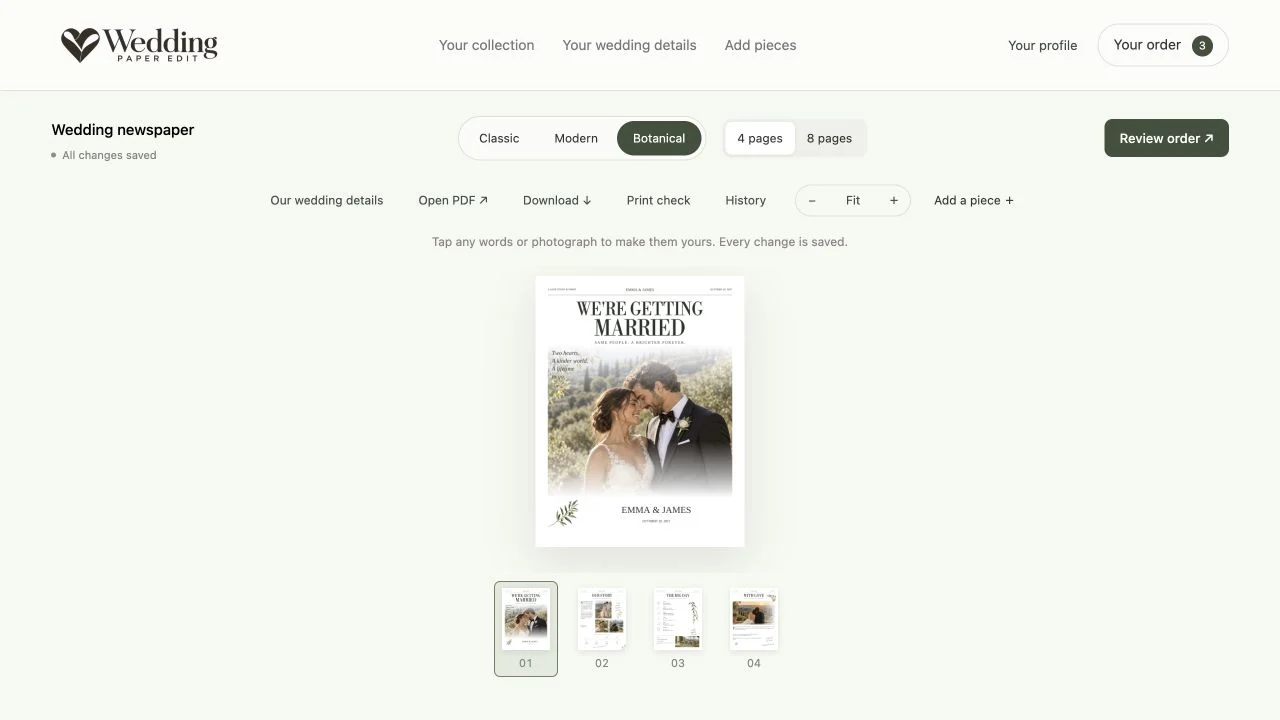
Enter shared information in Your Wedding Details, then open each piece to refine it. Check image crops, text placement and small captions. Review after switching edition or style because the same content may occupy the page differently.
6. Proof the PDF and arrange printing
Open every exported page, check the dimensions and ask your printer about margins, bleed and page order. Print a physical proof before the full order. Store the final approved file with a clear name so you do not accidentally print an older revision.
Enter shared details before editing individual pieces
Begin in Your Wedding Details. Add the names you want printed, the date, venue and useful location information. Then gather the photographs and people who appear in your collection. Shared information is meant to save repetition: you should not have to type the same venue into a newspaper, invitation and weekend guide independently.
Open each design afterward to check the result. A name may be correct in the shared record but still need a shorter presentation in a compact caption. Long venue names and multi-part surnames deserve a visual review. The preview is the final check of how your information fits the actual design.
Make one kind of change at a time
First replace the sample facts. Next edit your story and captions. Then choose and crop photographs. Finally review the pages in order. This sequence makes problems easier to notice than repeatedly changing the style, text and photos at the same time.
If you switch from four to eight pages, inspect the newly available sections rather than assuming they are already complete. If you add more people, check the final generated page count. Save the version you approve, open the PDF and make a physical proof. The editor preview helps you design; the printed proof helps you judge scale, color and folding.
ON THE PAGE
See how it comes together.
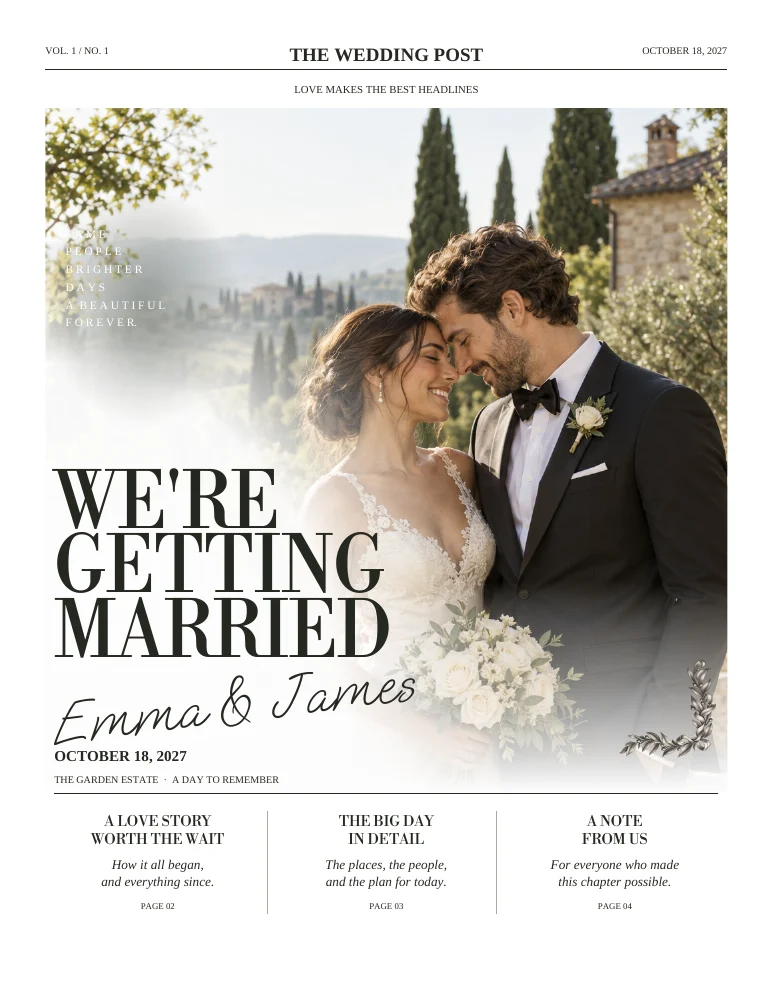
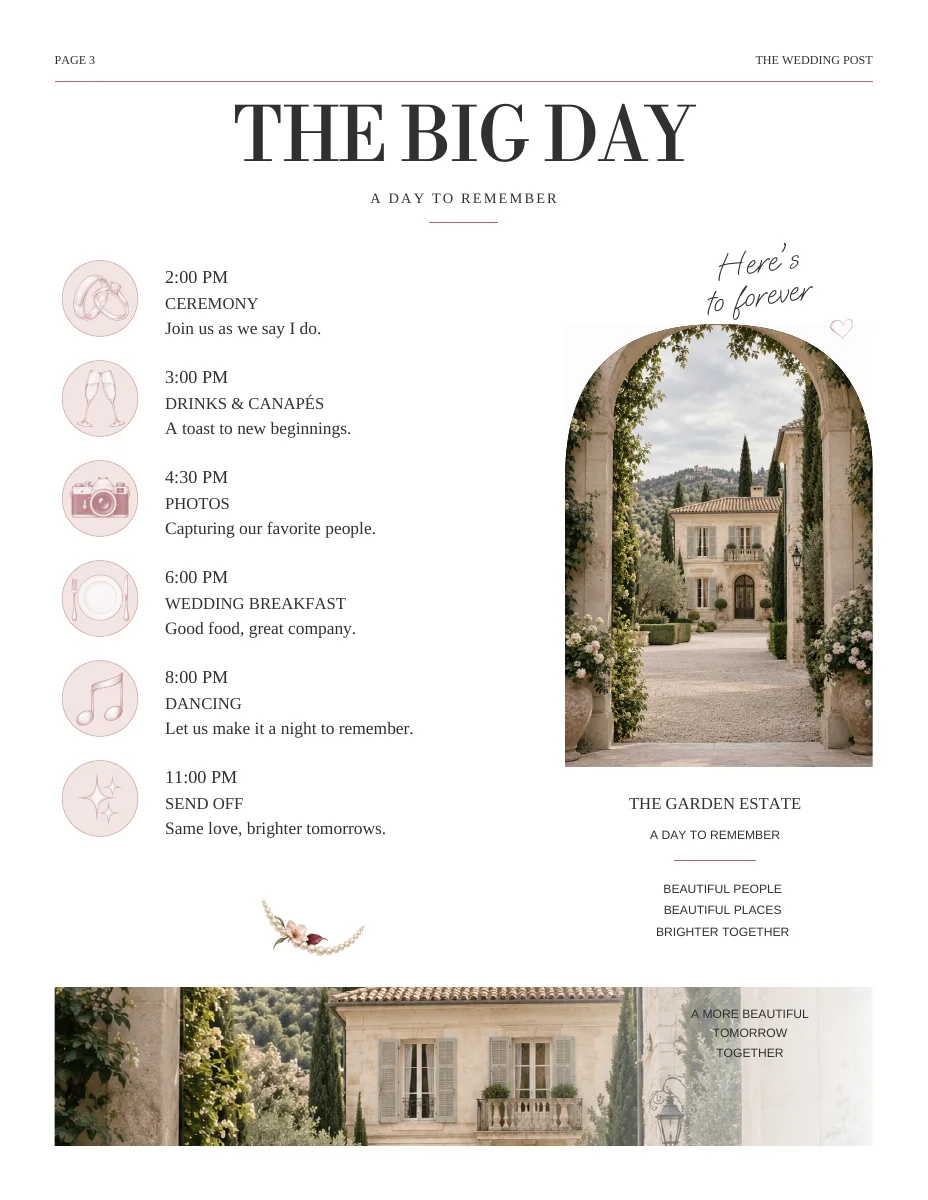
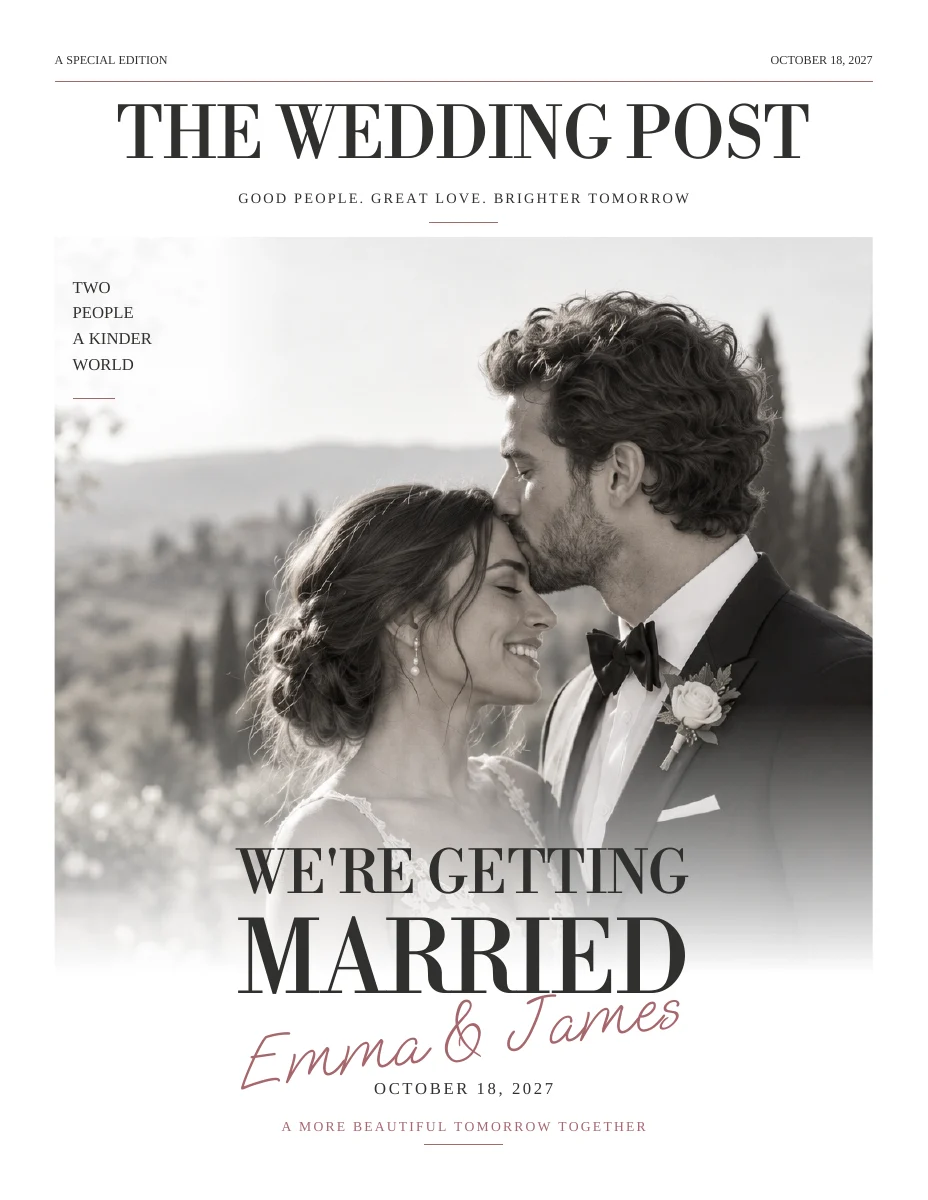
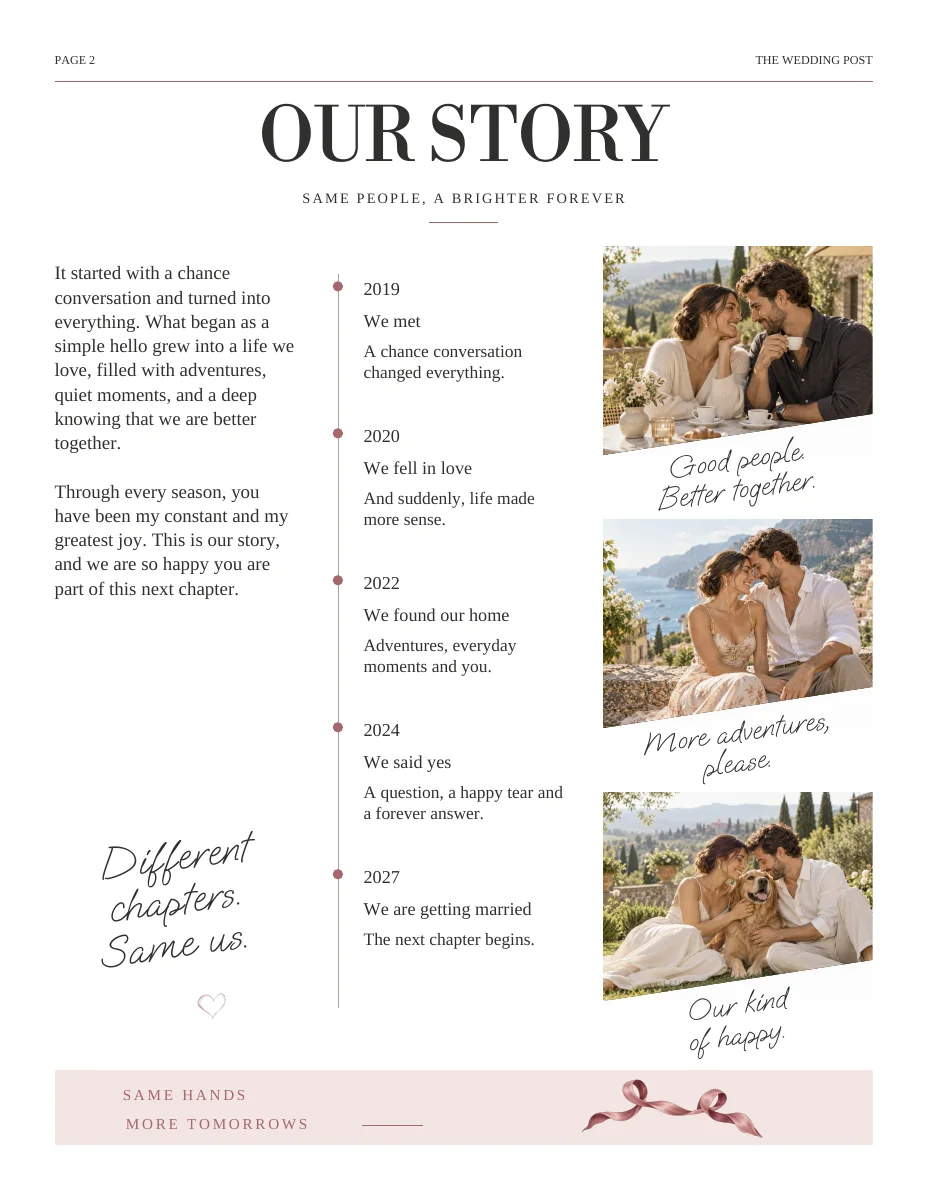
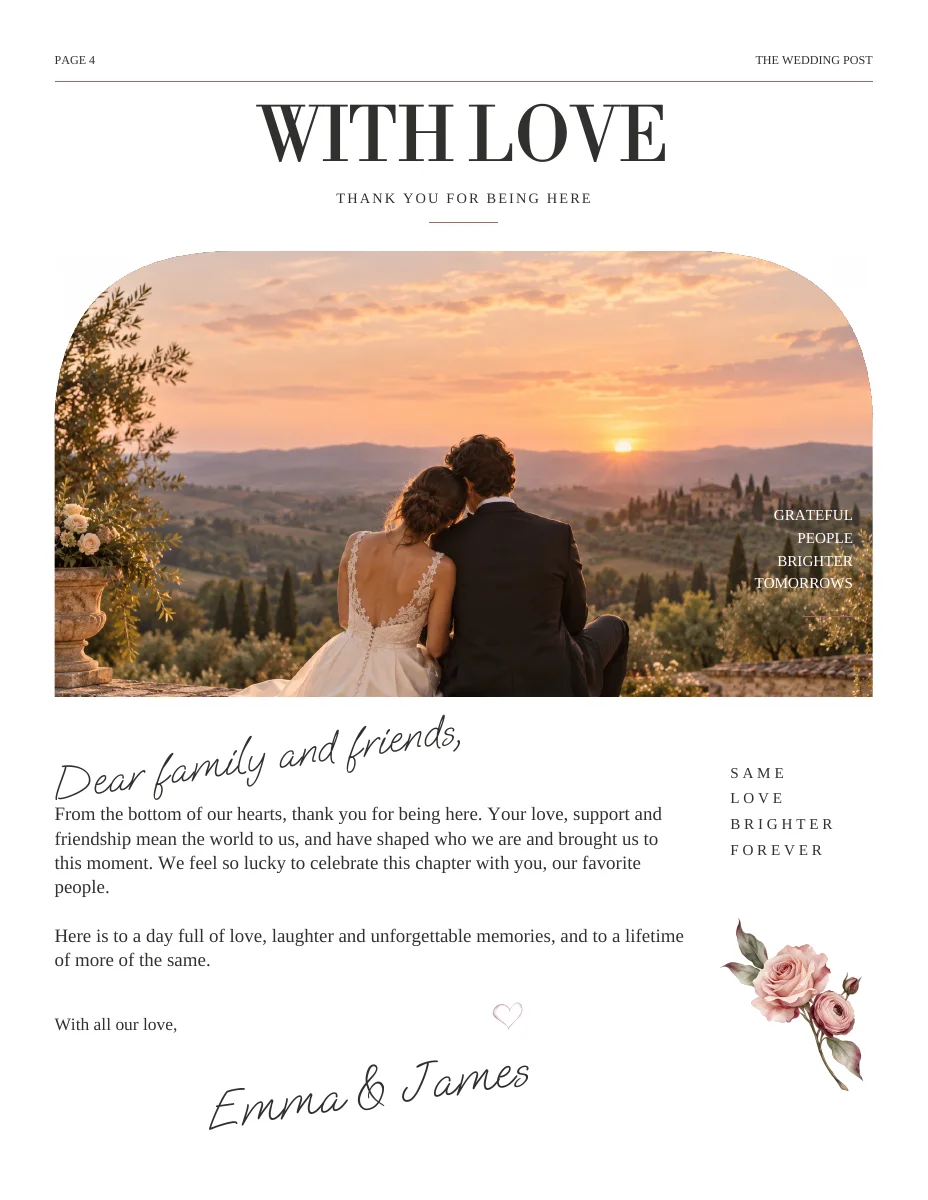
Actual sample pages from Modern Romance. Open a page to explore the PDF. Replace the fictional details and sample photographs with your own.
KEEP IT SIMPLE
Your next steps
- Purpose agreed
- Content and photos gathered
- Edition selected
- Final PDF and paper proof checked
GOOD TO KNOW
A few things you might be wondering.
Can I start before I know the full schedule?
Yes. Work on the story and photographs first, then replace tentative logistics before final approval.
Do I need design software?
Wedding Paper Edit provides an online workspace for its prepared layouts. Physical printing is arranged separately.