Build a short photo list
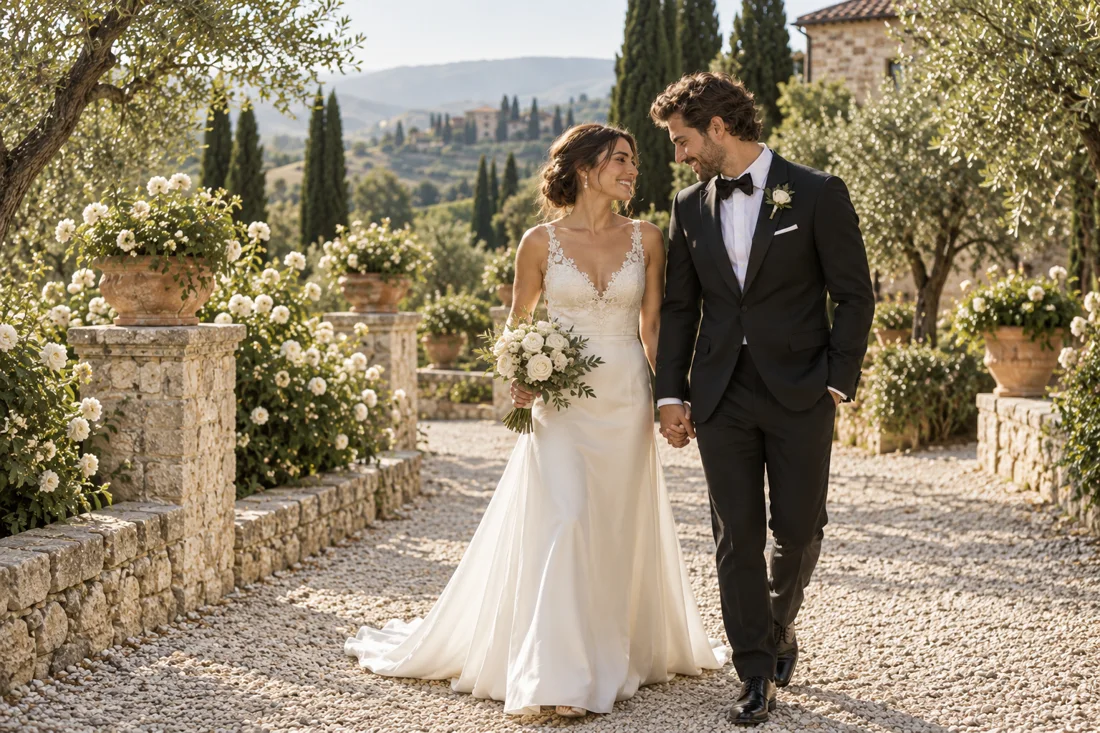
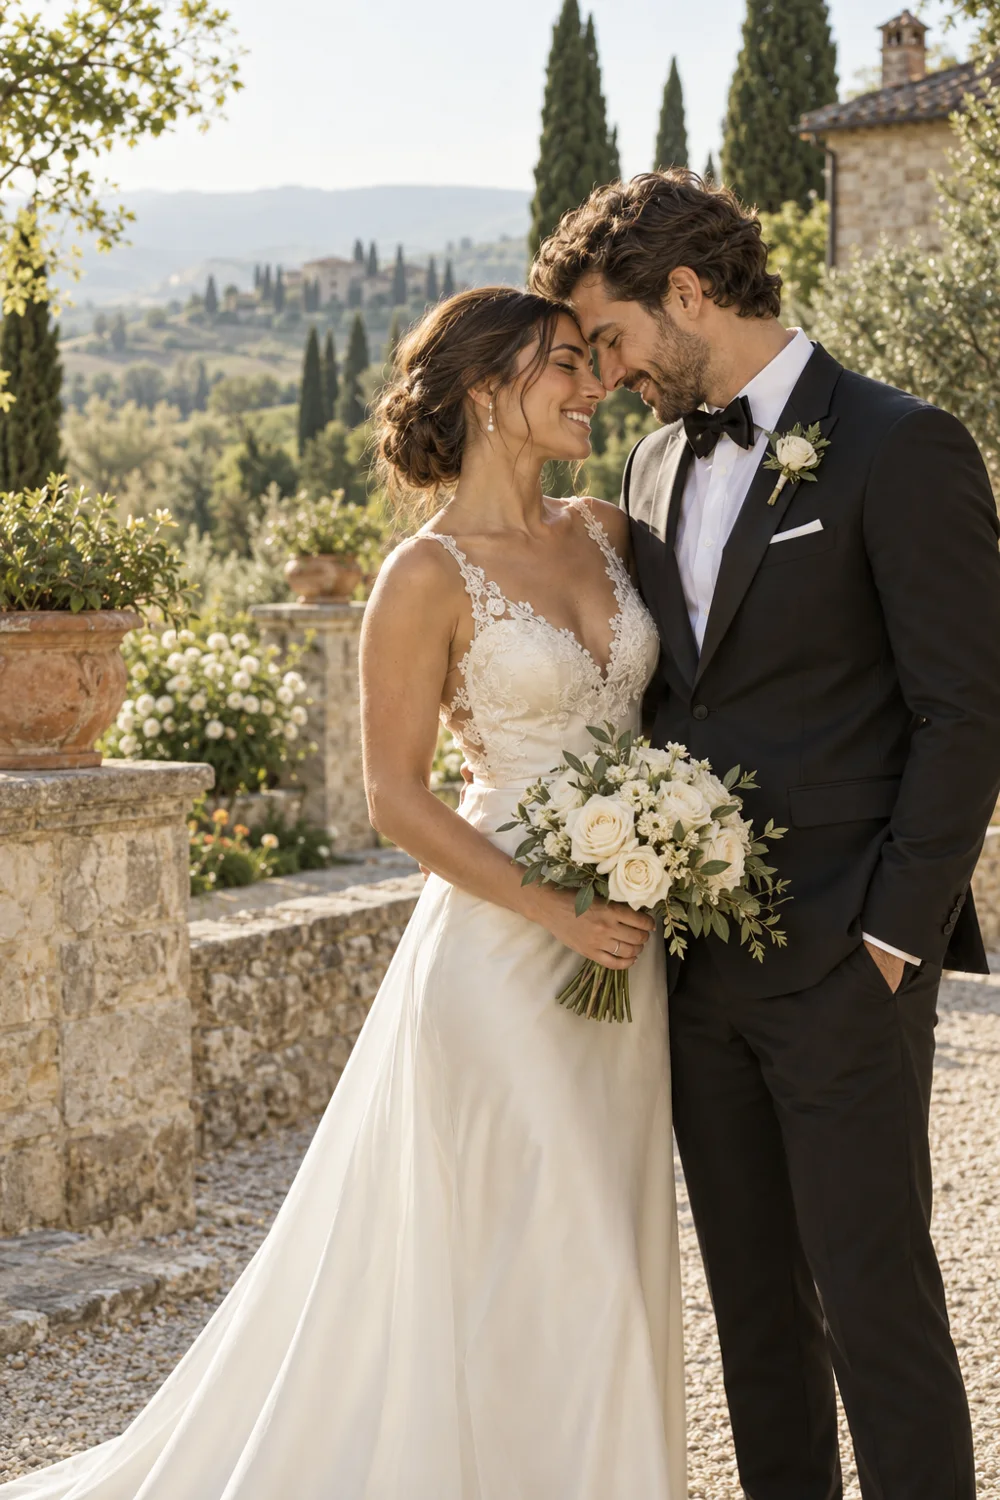
Start with a couple portrait, one or two photographs from your story, a venue or setting and portraits for any people feature. For a post-wedding issue, add a group image, a candid moment and a closing photograph. You can work with fewer strong images rather than filling every possible slot.
Use originals rather than screenshots
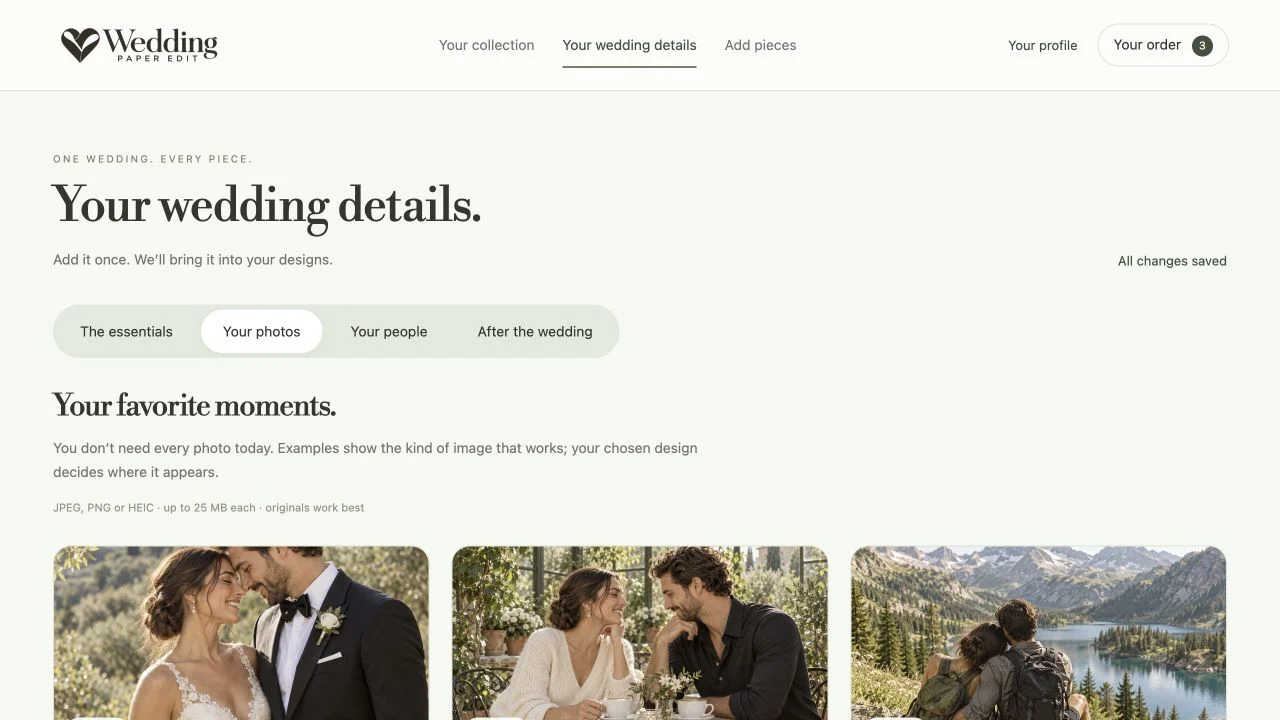
Upload the largest original version available to you. Social-media downloads and screenshots may have been compressed or resized. Cropping uses only part of an image, so a file that looks fine as a small thumbnail may not work across a whole page.
Leave room around the subject
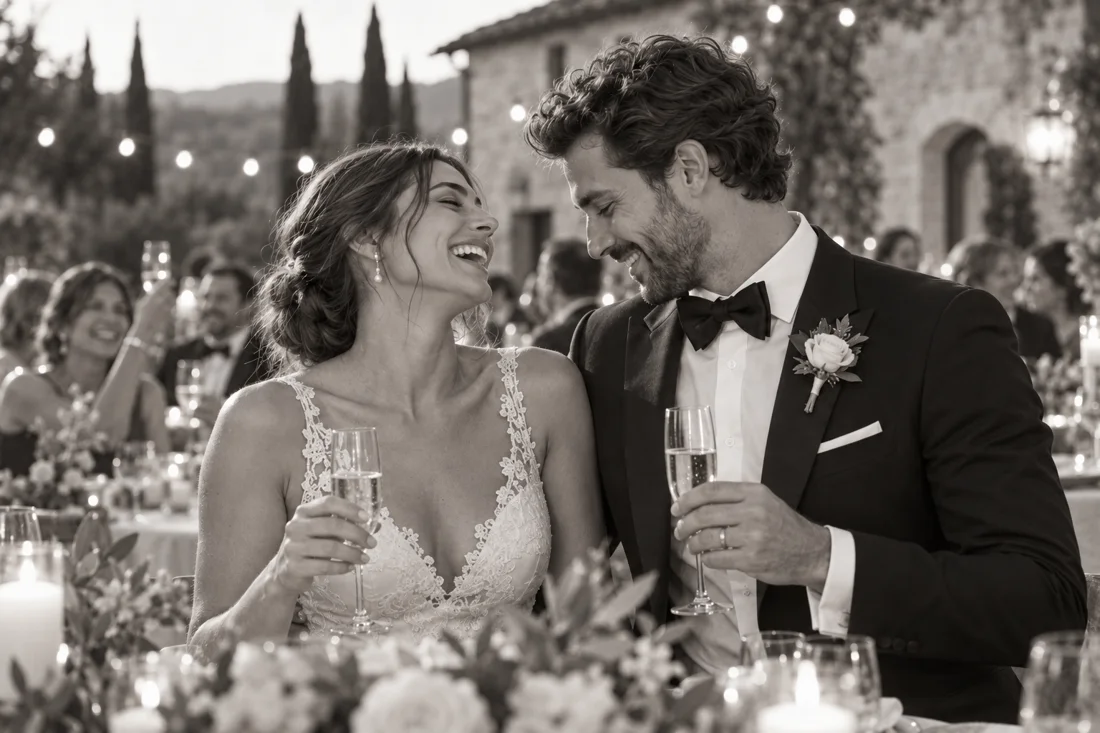
A design may crop vertically, horizontally or behind an overlay. Avoid choosing an image where a face sits directly at the edge. Preview the actual crop after replacement and check that hands, faces and important details remain comfortably inside the visible area.
Check effective detail at final size
View the exported PDF closely and inspect a physical proof. The image's usable quality depends on how many pixels remain after cropping and how large it prints. A generic DPI label on the source file does not guarantee that a large crop will be sharp.
Match the photograph to the layout
| Placement | Look for | Avoid |
|---|---|---|
| Cover | A strong focal point and room around faces | Important faces at the extreme edge |
| Story feature | A picture tied to the moment | A beautiful but unrelated filler image |
| People grid | Clear individual faces | Group pictures cropped beyond recognition |
| Closing page | A quiet, expressive moment | A busy image behind long text |
Caption with context
A caption can identify a person, place or moment in one sentence. Do not simply describe what is obvious in the picture. Check permission to use professional photographs and consider whether guests are comfortable with their images appearing in a publicly shared version.
A practical resolution check
The useful number is how many pixels remain in the part of the image you actually print. For example, a crop that is 1,800 pixels wide printed six inches wide contains 300 pixels per printed inch. The same crop printed twelve inches wide contains 150. This arithmetic explains why an image can look crisp in a small portrait and soft across a full page.
It is not a universal pass-or-fail rule: paper, viewing distance, image detail and the printer all affect the result. Ask the printer for a suitable target and inspect a physical proof. Changing a file's DPI label without adding real detail does not repair a low-resolution photograph.
Choose a sequence rather than a pile of favorites
Lay out the photographs in the order a reader will see them. Vary the distance: one close portrait, one wider setting, a small detail and a candid interaction. Repeating almost identical couple poses can make eight pages feel less varied than four carefully chosen images.
Keep a few alternatives for each important crop. If the cover overlay crosses a face or a portrait is too narrow, replacing the photograph may work better than forcing it into the space. Save the originals separately from edited copies, and keep the photographer's usage permissions with your project notes.
ON THE PAGE
See how it comes together.
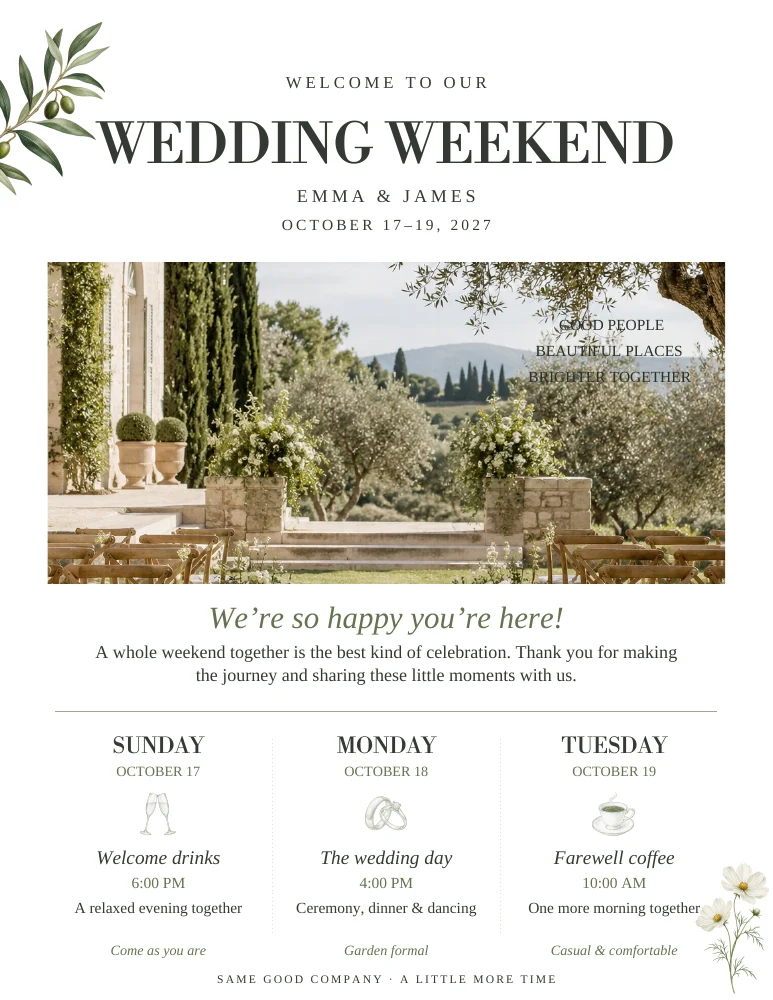
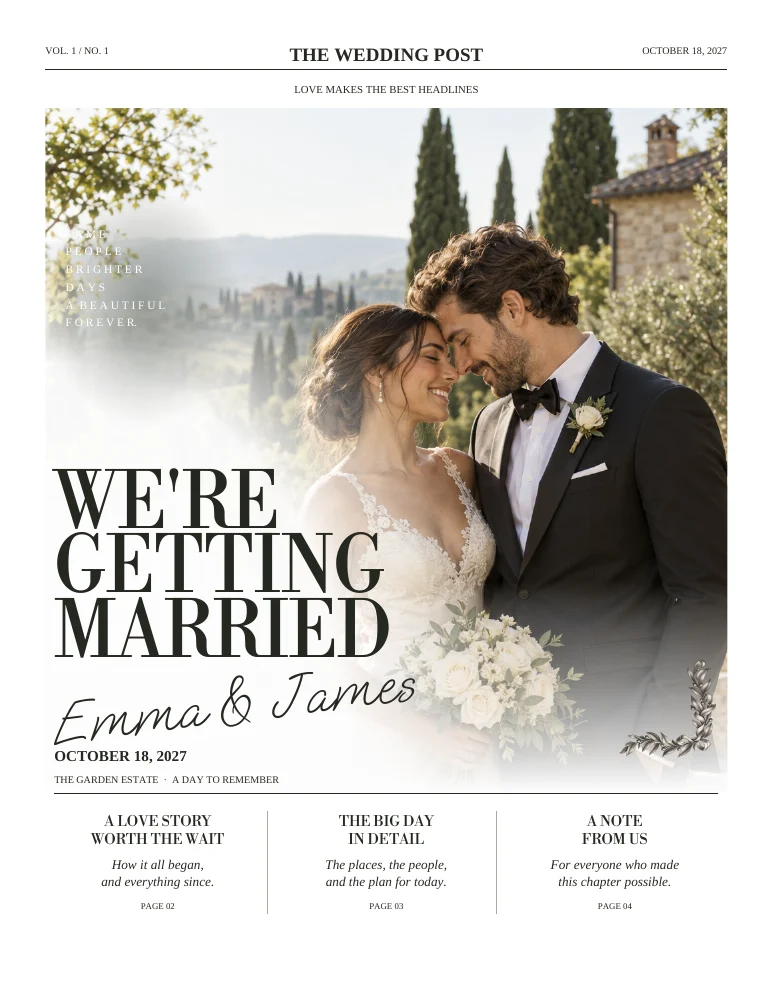
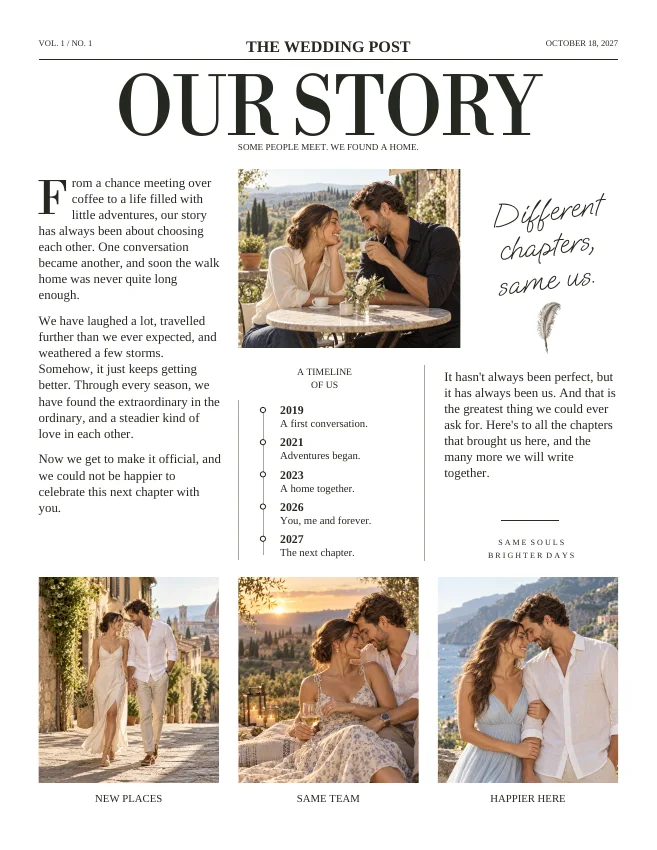
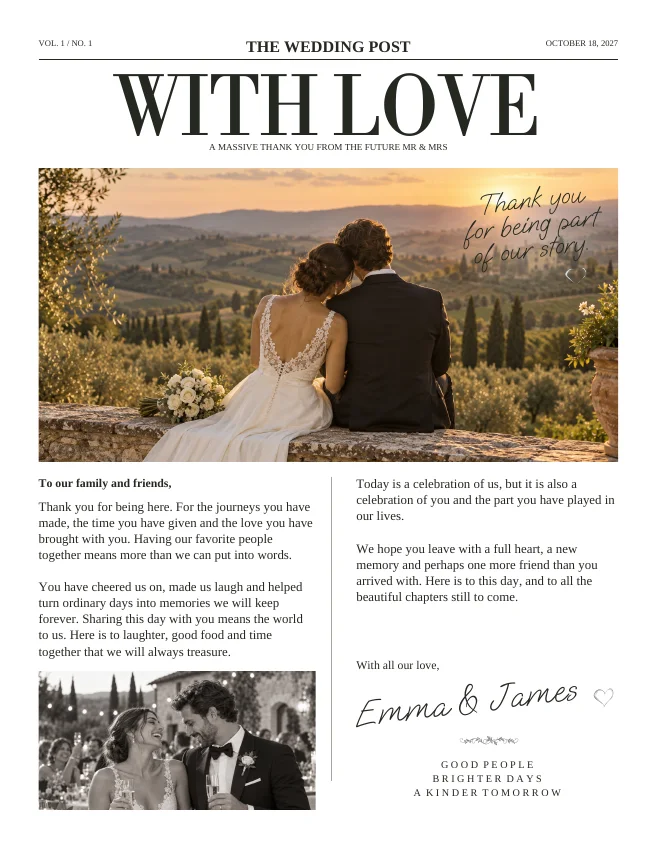
Actual sample pages from Editorial Classic. Open a page to explore the PDF. Replace the fictional details and sample photographs with your own.
KEEP IT SIMPLE
Your next steps
- Original files gathered
- Images match their page purpose
- Crops checked after placement
- Permissions and captions reviewed
GOOD TO KNOW
A few things you might be wondering.
Do all photographs need the same filter?
No. A coherent selection can work without identical filters. Avoid heavy edits that remove useful detail or make skin tones inconsistent.
Can I use phone photographs?
Yes, if the original file holds enough detail for its final size and crop. Inspect the actual output rather than judging by the device alone.